Archives for the month of: July, 2013

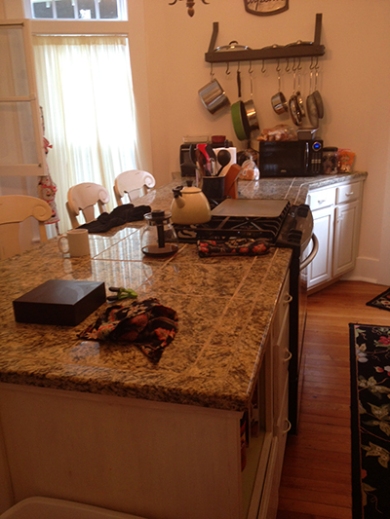
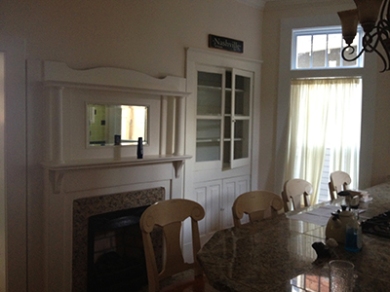
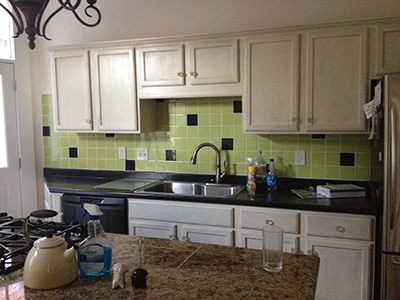
Oh, you guys, it is happening. Today was demolition day in my kitchen!  You can see in the before pictures, it wasn’t a bad kitchen. But we really wanted the island to be an actual island rather than a peninsula, and I’m dying to have two-tone cabinets. So all of this had to go:

ImageImagephoto 4

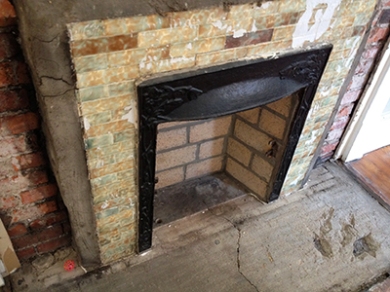
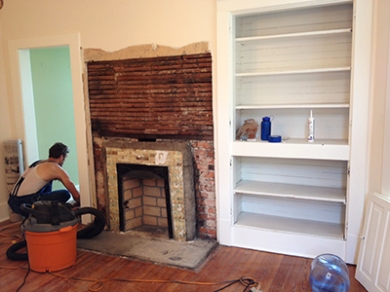
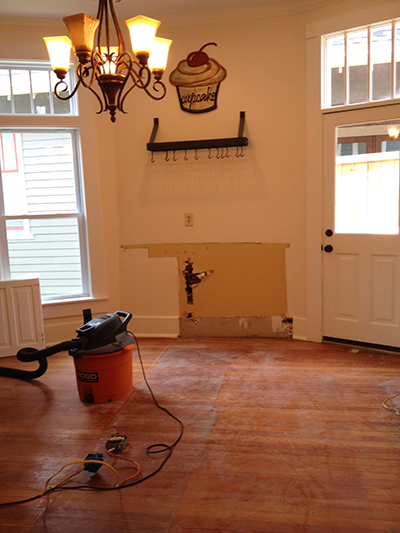
And after demolition today…

ImageImageImagephoto 1

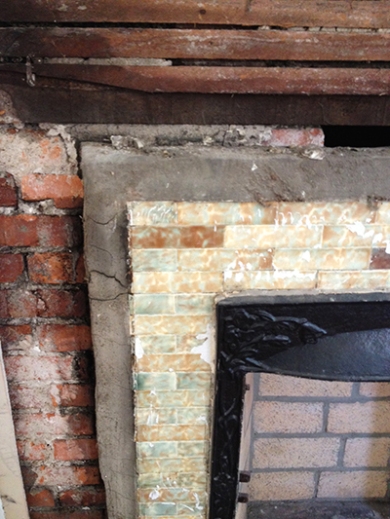
Look at those stunning vintage tiles we found beneath the old fireplace hearth!  Not sure if we can salvage them yet, but I’ll keep you posted!

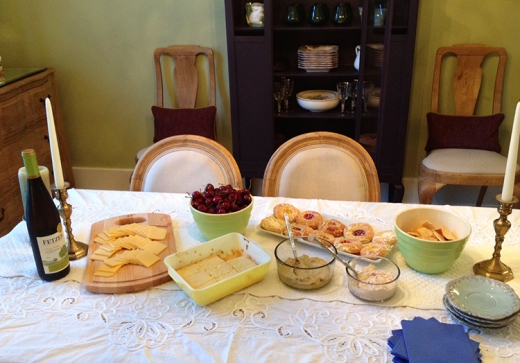
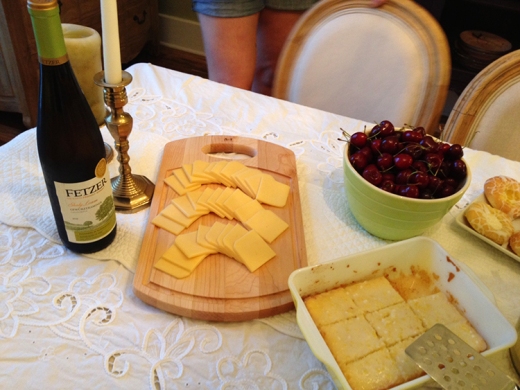
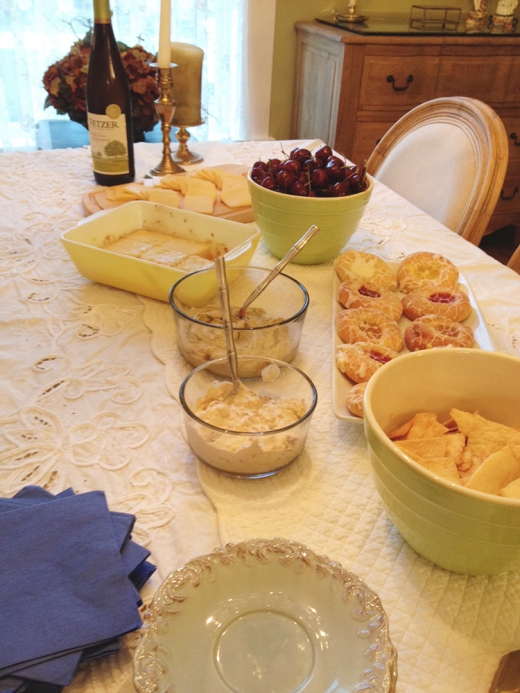
Ah, book club.  For centuries women have been using “Book Club” as an excuse to get together, drink wine, eat cheese and gossip about men. My book club is no different.  This month, it was my turn to host and I tried to create a warm environment that would encourage the gossip…er, book discussion.

ImageImageImage

See you next month!

Insta-Love

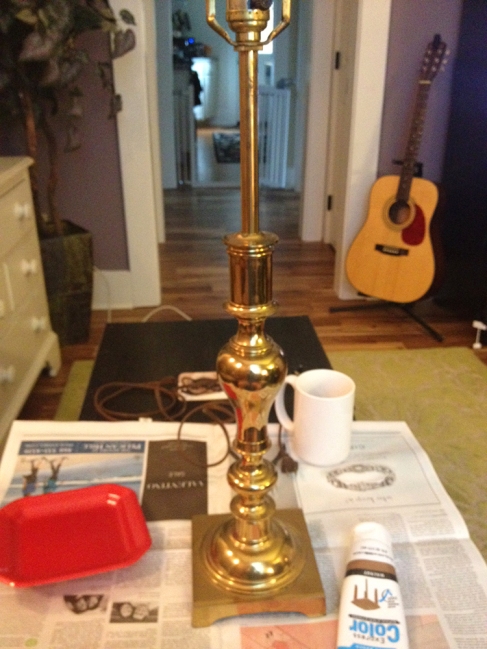
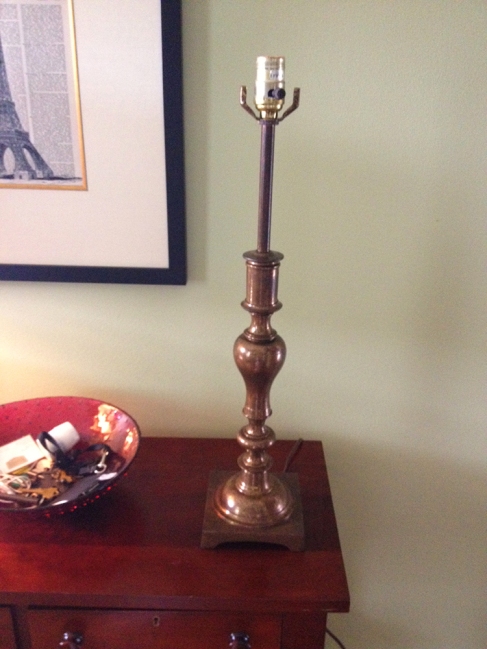
I recently acquired an antique brass lamp, and it is in great condition and a beautiful shape. But, I wasn’t really feeling the brass finish. A little too brassy, pun intented (feel free to roll your eyes). But, in only an hour, I was able to give the lamp a great, oil-rubbed bronze look that I LOVE.  Here’s how:

Image

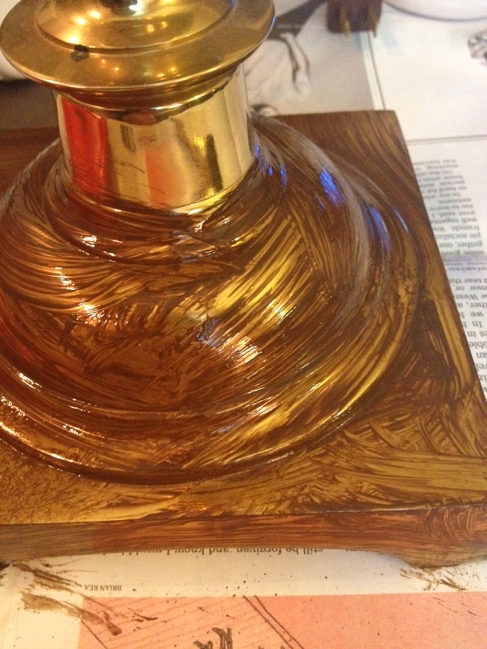
Step 1: Gather your supplies. For this project I used Minwax Color Express in Walnut. This is a great, easy-to-use stain that adheres to all kinds of surfaces. I used a small plate as a palette and applied the stain using a small paintbrush.  I then used a stencil brush to get the faux-antiqued look.

Image

Step 2: Messily apply one coat of the stain with a brush. It doesn’t have to be perfect because we are going to use the stencil brush to get the finish we want.  I did this step and the next step one section at a time so that the stain wouldn’t dry before I had a chance to use the stencil brush.

Image

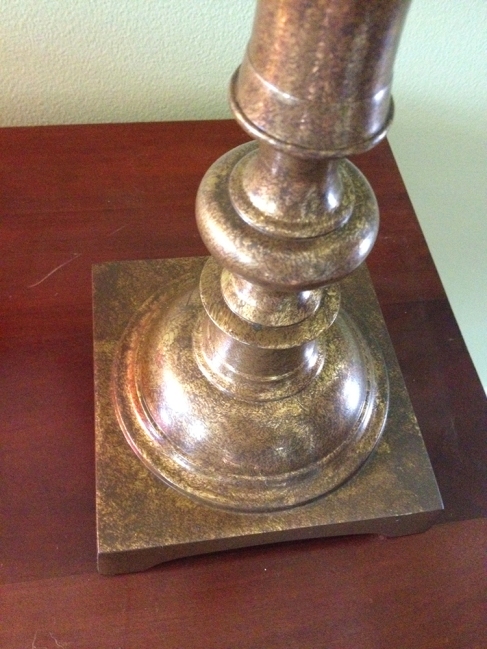
Step 3:  Using the stiff stencil brush, pat the stain to remove brush strokes and get that antiqued look. This step felt to me like I was a pointillist artist going to town on a canvas. The nice thing about this step is that you can’t really mess it up – if you accidentally rub off some stain or get a thumb print, just dot over that section again with the stencil brush.

Image

Step 4: Let it dry and you’re done! Super easy project. This lamp took less than an hour to complete. You can use the same process for antiquing cabinet hardware or even an old mirror.

I’m selling this lamp on Etsy – Go check it out!

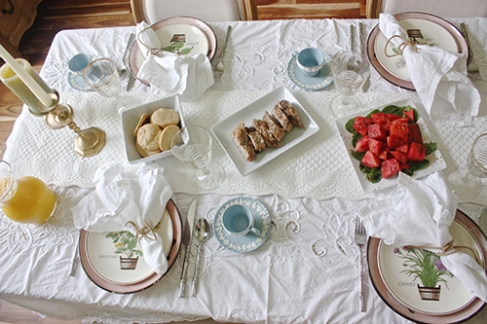
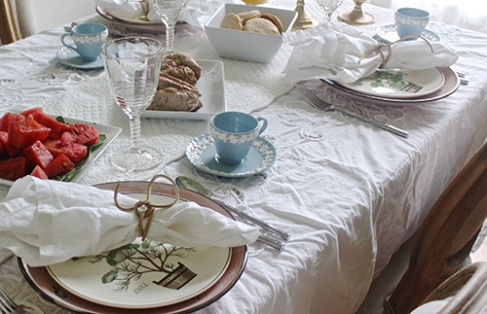
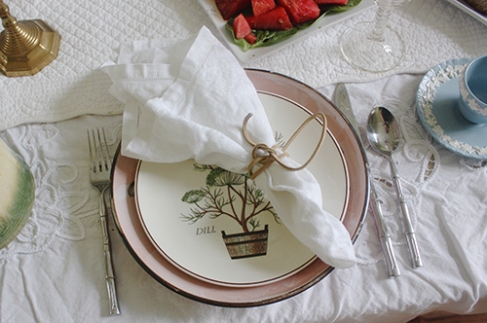
I recently put together a light and simple brunch tablescape for the Gatherings Magazine blog. And, well, I was too excited about the table to NOT share a couple of photos before it gets published over at Gatherings. What do you think?

ImageImageImage

Flipping a house is a challenging, exciting, and potentially very lucrative undertaking. I recently completed a big renovation on my current home, and I am looking for a new property to flip. I will be taking on this project with my fearless mother, designer and project manager extraordinaire. She has a lot of experience in real estate and really KNOWS the market and what will work and what won’t. She’s also amazingly accurate in her budget estimations – I’m pretty sure that is a skill that can only be acquired with time. But, no matter if you are looking for your first house to flip or your fiftieth, there are a few lessons my mom has taught me that are crucial when choosing the right property:

1. Structure – The very first thing you will want to know is: How structurally sound is the house?  Major repairs to the foundation or adjustments to the load-bearing walls require a structural engineer and are very expensive.  For example, we have looked at a house that was a great vintage, and that we thought had lots of potential until we found out it had been hit by a tree several and the foundation was cracked entirely in half. The repairs were only cosmetic and it would have taken a lot of money to truly fix that house. Enough money that flipping the house wouldn’t have made any profit. Pass!

2. Footprint – The next thing to take note of is the overall footprint of the house. How big is it? Can you add square footage without majorly changing the footprint?  Building up into an attic or finishing a basement can be a lot more cost-effective than a massive addition, which totally changes the house’s footprint.

3. Roof – Not only do you want to look at how old the roof is to see if it will need to be replaced, but also note how high the pitch of the roof is. My current home was a one-story, 1400 sq. ft. house when we bought it. But, the pitch of the roof was extremely tall – in fact, the tallest point of the attic was about 19 feet!!  So, we were able to build up into the attic and add about 900 sq. ft. – two bedrooms and two full bathrooms!

4. Neighborhood – This is one of the more obvious things to consider when buying a house. Particularly a house you plan to flip. Generally these houses will be in up-and-coming neighborhoods where real estate is still affordable enough to make the flip worthwhile. But, in these types of neighborhoods, you have to be very careful that 1) Your renovation does not price you out of the neighborhood. If you buy a house for say, $50k and then spend anywhere between $50-100k to renovate, then you need to make sure that similar houses in the area are selling for more than what you put into it. That seems like a “Duh” statement, but it is always so tempting to see a diamond-in-the-rough and think that the buyers will see it the way you do when you complete the renovation. But, even if it’s the most gorgeous house in the world, a buyer won’t want to have the most expensive house on the block.

Hope you find these helpful!!  Any other tips you would add?

Insta-love

#Retro

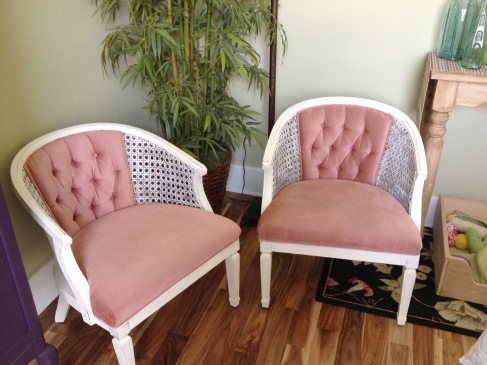
Found these LOP (lots-o-potential) chairs at a yard sale recently, and I was so glad to have the long weekend to fix them up!

Image

The first step was to clean the spider webs that had infiltrated the chairs, then I did a quick vacuum and OxyClean of the upholstery.  It was actually in great shape, it just had a couple of small stains that came out quite easily.

I then sanded down the varnish and prepped the chairs for painting by taping off the upholstery sections. I don’t always use painter’s tape, but when it comes to upholstery, I take no chances. An ill-timed sneeze could ruin everything.

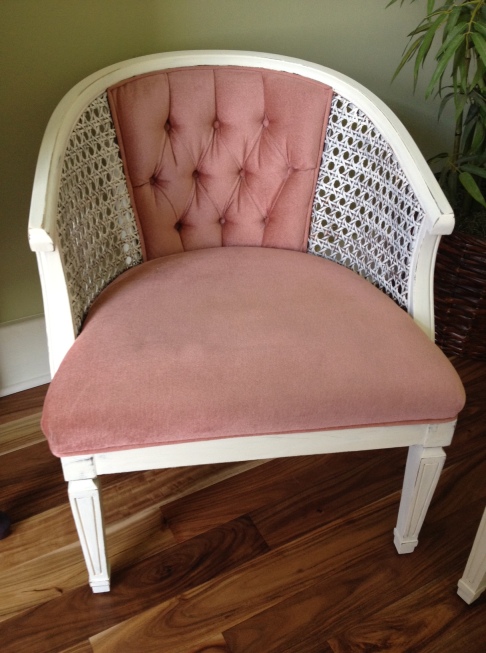
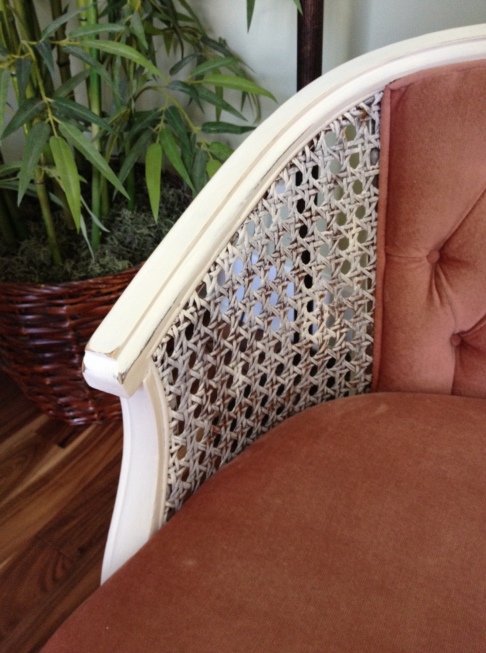
I then painted the chairs using Annie Sloan’s Old White – two coats. I only did one coat on the cane side panels because I sort of loved the shabby chic look that gave. After the paint had dried, I sanded corners and edges for an even more cottage-shabby look, sealed the paint with clear wax and that was it!! So thrilled with how they turned out:

Image

ImageImage

To purchase these or see more of my pieces – visit www.facebook.com/encorefurnishingsnashville!

photo(2)

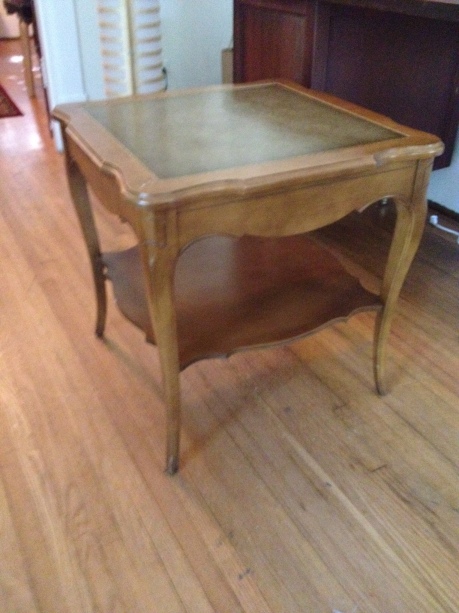
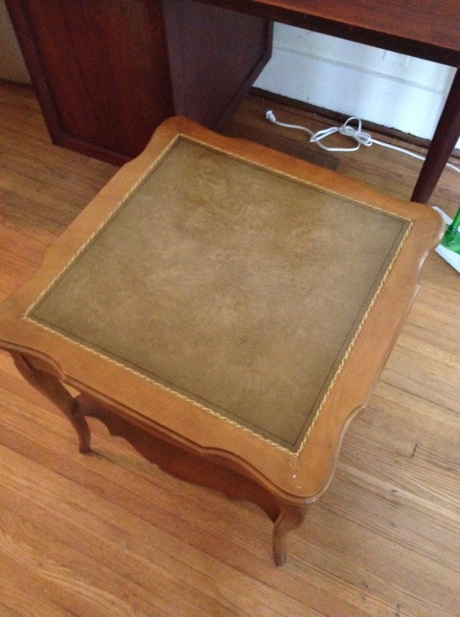
Before…plain side table – gorgeous shape.

Found this great little side table on Craigslist in truly perfect condition…solid wood, sturdy. I love the shape of the piece, but I was not a huge fan of the faux leather top and honey oak color.

photo(3)

Before


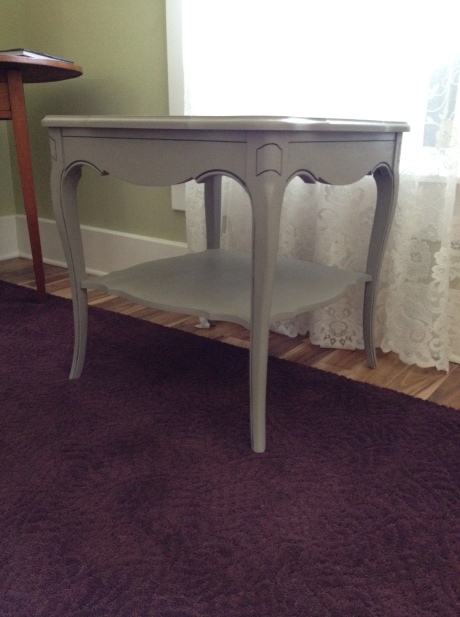
But, I had some Annie Sloan chalk paint left over from an older project – a can of French Linen and a can of Graphite…

photo(1)

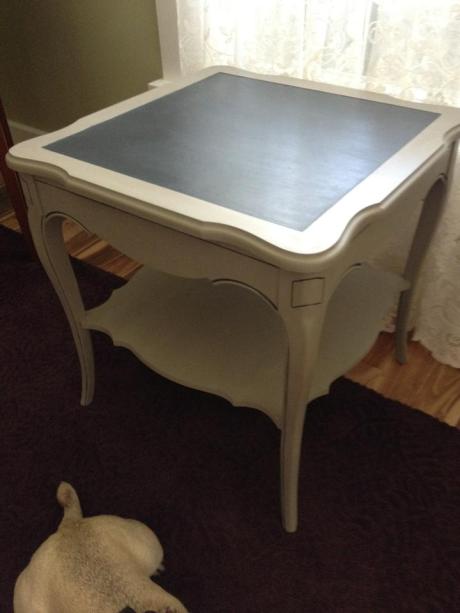
Ta-da! Two tone table.

side table

I kept the two-tone top, used graphite for the center section. Please ignore the pug.

side table1

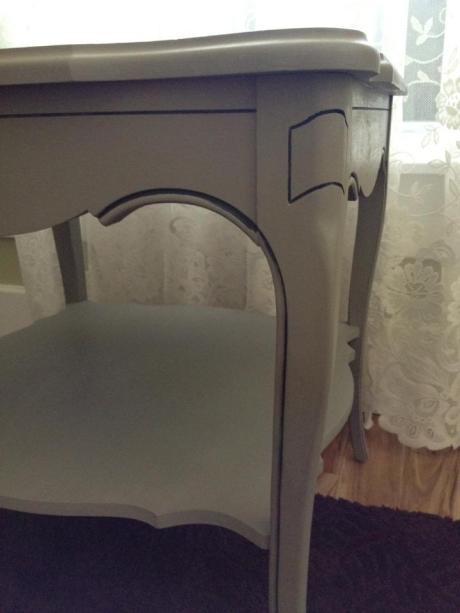
I also used the Graphite to fill in the grooves and highlight the details.

This piece, along with some of my other work is available via my Facebook page: http://www.facebook.com/encorefurnishings

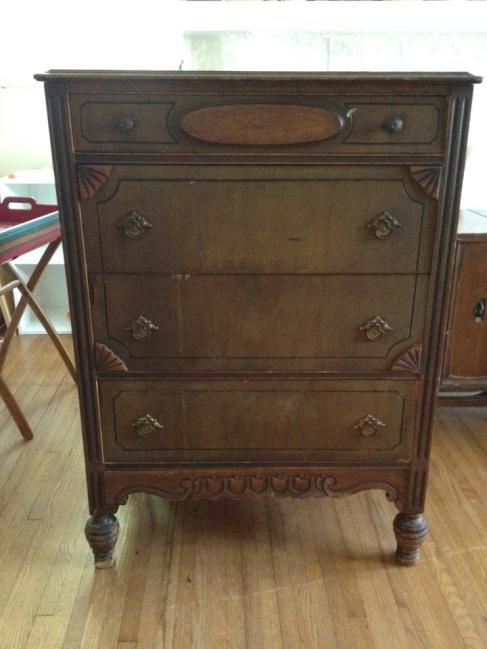
I found a few great new pieces for refinishing this weekend:

Isn’t this dresser gorgeous?  It needs a bit of work  – there are a few places where the veneer is chipped. But, a bit of wood filler and a fresh coat of paint should do the trick…now I just have to decide on the color!

Image

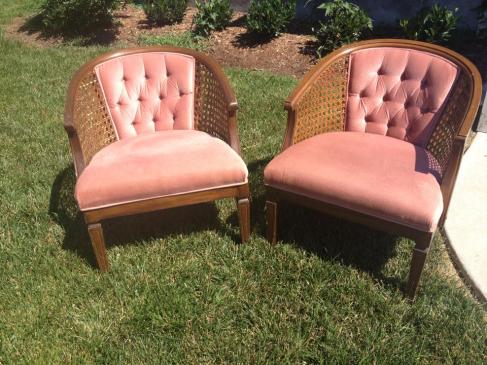
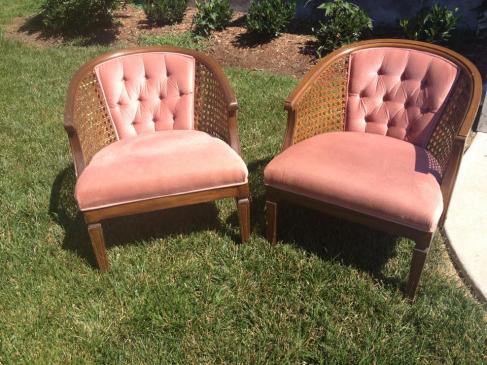
Found these beauties at a yard sale – the cane is in perfect shape! I think I may paint them white? Any thoughts? Pink and white chairs would look very cute. Or perhaps a light grey…too many choices!

Image